

A “WordPress image upload failed” error can happen because your server can’t process the image, even when its file size looks small. Compressed kilobytes don’t reveal the memory needed to decode a photograph and generate thumbnails.
I start with the exact error message, then separate transfer failures from processing failures. That keeps you from changing server settings when the cause is a filename, full storage, or directory access.
Key Takeaways
- Pixel dimensions can matter more than compressed file size because WordPress must decode images and create additional sizes.
- Directory errors require storage and permissions checks; post-processing errors point toward image processing and server resources.
- Make one reversible change at a time, then repeat the same upload.
Match the error to the failing stage
WordPress receives the file, saves it, then creates resized versions. Each stage can fail for a different reason.
If you see a “failed to upload image” notice, use the message to choose your starting point.
| Error message | First area to investigate |
|---|---|
| “Post-processing of the image failed” | Pixel dimensions, memory, image-processing limits |
| “Unable to create directory” | Directory permissions and ownership |
| “The uploaded file could not be moved to wp-content/uploads” | Destination access, storage, temporary-file problems |
| “HTTP error,” 500, or 503 error | Server logs, PHP failures, firewall rules, resource limits |
These messages are clues, not complete diagnoses. A 503 error doesn’t prove your hosting account is overloaded.
The longer message, “Post-processing of the image failed likely because the server is busy or does not have enough resources,” adds “Uploading a smaller image may help” and suggests 2500 pixels. That points to server resources, so investigate dimensions before upload-byte limits.
1. Eliminate filename and browser problems
Rename and re-export the image
Rename problematic files using plain letters, numbers, and hyphens. Remove spaces, special characters such as $ * & # %, and accented characters such as ñ á é ü.
Then export a fresh JPEG or PNG from your image editor. Changing an extension doesn’t convert a file or repair damaged image data. If one JPG fails but other images upload, investigate that file first.
Retry through a simpler upload route
Clear cache, then hard refresh with Ctrl+F5 on Windows or Cmd+Shift+R on Mac. Sign back in if necessary.
In the media library, go to Media > Add New and use the “browser uploader” link when available. It sends one file at a time through a simpler interface instead of the drag-and-drop uploader. This can bypass browser-side problems, but server limits still apply.
2. Reduce pixel dimensions before changing limits
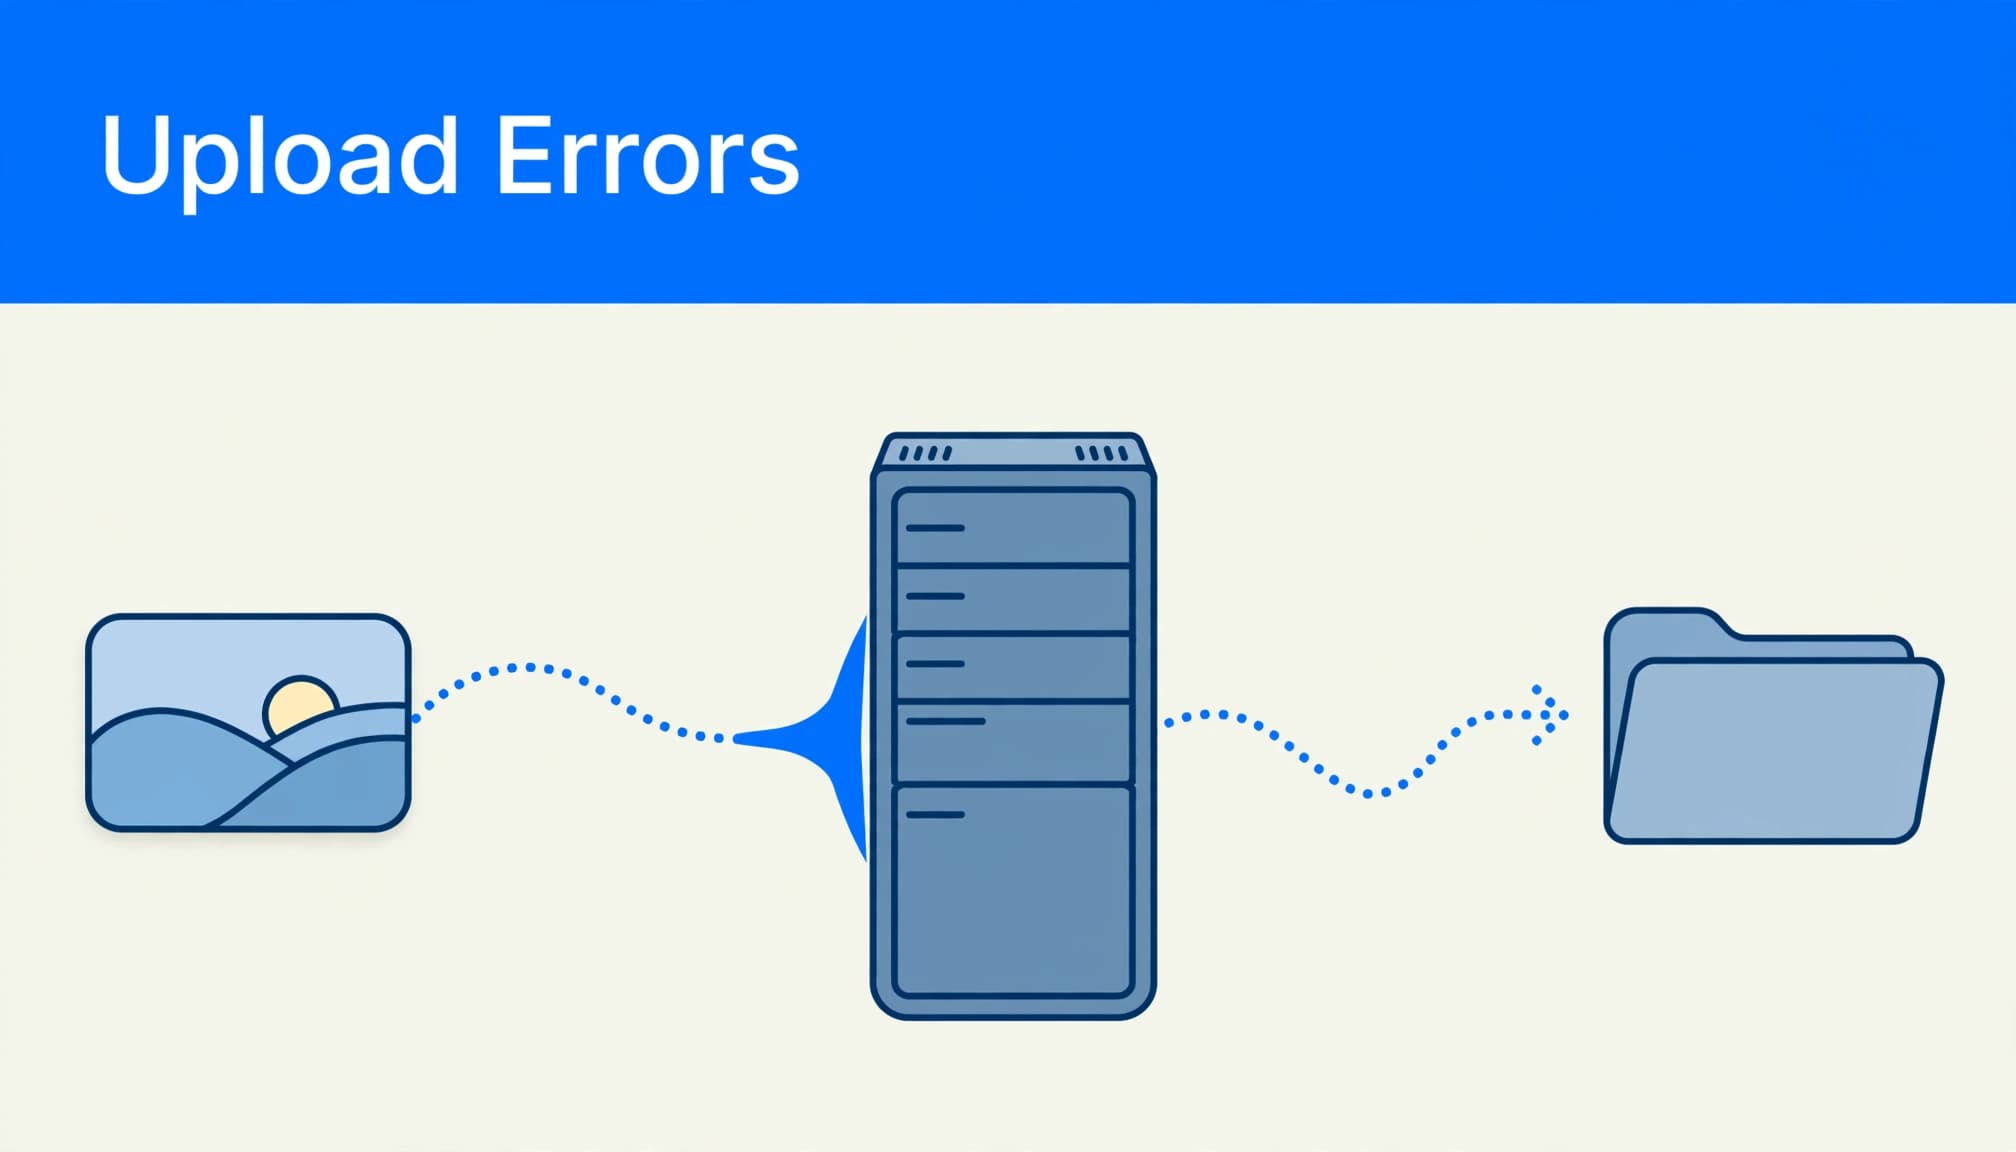
A highly compressed image can take up little disk space while containing millions of pixels.
At four bytes per pixel, a 6000 x 4000 image needs about 96 MB for one decoded buffer. WordPress may use Imagick or the GD Library to process images and generate thumbnails, which can require additional memory.
WordPress also generates image sizes registered by your theme and plugins. A file under 200 KB can still exceed processing resources.
Resize an ordinary website photo to its display dimensions before uploading. If WordPress reports a post-processing error, try the suggested 2500-pixel maximum as a diagnostic test.
Lowering JPEG quality reduces transfer size. Reducing pixel dimensions also reduces the image-processing workload.
3. Check storage and uploads-folder access
Separate full storage from access failures
Inspect disk usage and inode usage in your hosting dashboard. Inodes count filesystem entries, so many generated thumbnails can exhaust that allowance even when storage remains.
Also inspect the destination month folder and available temporary storage. PHP receives uploads through a temporary location before WordPress moves them.
A “could not be moved” message doesn’t automatically mean permissions are wrong.
Correct permissions without weakening security
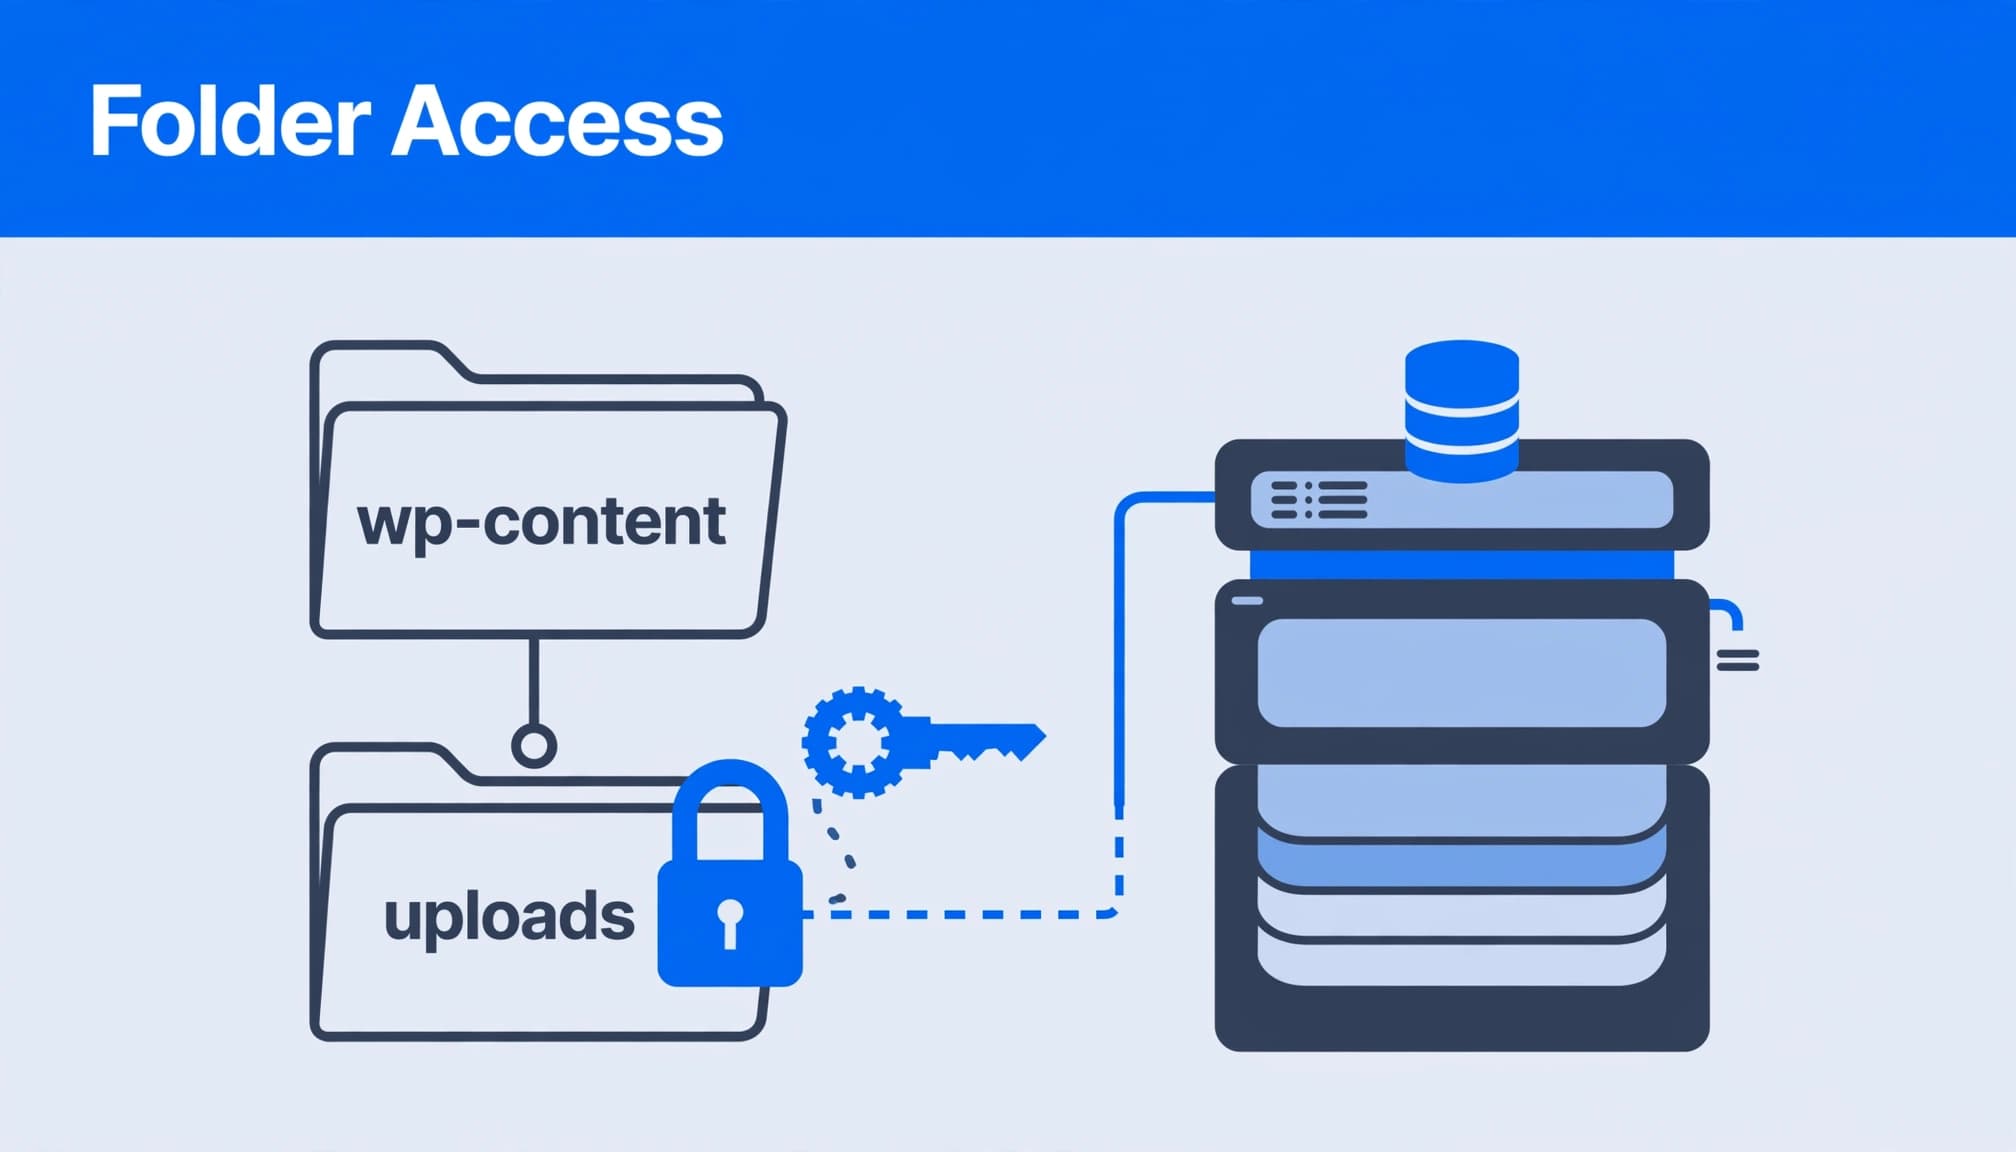
The error “Unable to create directory wp-content/uploads/2019/04. Is its parent directory writable by the server?” points to a write-access problem. Check file permissions and ownership when the uploads directory can’t be written to.
Typical settings are 755 for directories and 644 for files. Some instructions suggest 744 if 755 fails, but 744 permits directory traversal only for the owner. It suits only an appropriate owner-run configuration.
Never use 777 on any directory, including uploads. If normal permissions don’t work, investigate ownership and server restrictions.
4. Adjust PHP limits only when evidence supports it
Before editing configuration files, create a restorable website backup and save separate copies of files you’ll change. I prefer the hosting PHP settings interface over manual edits.
Distinguish upload limits from processing limits
Under Tools > Site Health > Info, inspect Server and Media Handling. A file size limit controls the incoming request, while the PHP memory limit affects image decoding and processing. The WordPress.org upload troubleshooting discussion identifies PHP limits worth investigating.
Where supported, add these settings to the active website’s php.ini or phprc file:
upload_max_filesize = 128M
post_max_size = 128M
max_execution_time = 300
For files approaching 128 MB, use post_max_size = 160M instead, because the complete request includes overhead. The equal 128M values don’t accommodate a full 128 MB file plus that overhead.
A longer PHP runtime won’t override separate gateway timeouts. Shared hosting providers may enforce caps that site-level settings can’t raise.
Raise memory for confirmed exhaustion
Look for “Allowed memory size … exhausted” at the upload timestamp. A budget hosting account may allow only 64M.
Replace an existing definition, or add define('WP_MEMORY_LIMIT', '256M'); in wp-config.php before WordPress loads, above the “happy blogging” or “Happy publishing” comment.
At PHP level, the corresponding setting is memory_limit = 256M in the active php.ini.
Neither change bypasses a hosting cap. Compare the effective allowance in Site Health afterward, then retry. Don’t keep raising memory to conceal recurring exhaustion.
5. Investigate Imagick thread restrictions
If logs identify Imagick resource or thread failures, a single-thread limit may help on hosts that restrict parallel image processing.
On a compatible Apache setup, back up the .htaccess file, then add:
SetEnv MAGICK_THREAD_LIMIT 1
This requests one ImageMagick processing thread. It doesn’t increase PHP memory or repair corrupt image files.
I wouldn’t add this line to every failing site. Nginx doesn’t read .htaccess, and PHP-FPM may require the environment setting elsewhere. If the edit causes a 500 error, restore the saved file immediately.
6. Isolate plugin and theme interference
Test plugins on staging
To test for plugin conflicts, deactivate plugins on a protected staging copy, then retry the same image. If it uploads, reactivate plugins one at a time until the failure returns.
Start investigating the component activated immediately before the failure returns. Image optimizers and security plugins are relevant suspects, but the test should establish the connection.
Must-use plugins remain active during ordinary plugin deactivation.
Switch to an installed default theme
Next, temporarily activate an installed default theme such as Twenty Twenty-One or Twenty Twenty-Three.
Themes can register image sizes or interfere with upload requests. If switching fixes the problem, investigate the active theme’s image-processing code.
Keep disruptive tests away from live checkout, booking, and lead-generation functions. Restore the original theme if it isn’t responsible.
7. Read fresh logs before escalating
Repeat one failed upload, note its timestamp and time zone, then inspect the hosting PHP error log. Match entries to that request rather than old warnings.
“Permission denied” points toward access; “No space left on device” points toward storage. Memory-exhaustion entries support a memory investigation. A parse error or undefined function requires a code repair.
A useful diagnostic sequence is: the original file appears, thumbnails are missing, and a matching log reports exhausted memory. That points toward processing, rather than rejection by the upload-size limit.
Site Health’s WordPress environment diagnostics provide server and media information for support. Gather:
- Your WordPress and PHP versions, active-plugin list, and current theme name.
- The exact error, affected filename, pixel dimensions, upload timestamp, and matching log excerpt.
- Storage usage, effective limits, recent changes, and tests already completed.
Escalate immediately if multiple uploads return 500/503 errors or settings remain unchanged. My WordPress 500 error guidance covers broader failures.
Also inspect the PHP version in your hosting dashboard. Use a supported release compatible with your components; obsolete PHP versions aren’t a troubleshooting solution.
Frequently Asked Questions
Why does a small JPG still fail?
Its decoded dimensions may require more memory than its compressed size suggests. However, a corrupt file, unsupported encoding, or plugin can also cause failure. I’d compare a freshly exported, resized JPEG with another known-working image before changing configuration.
What if only Jetpack app uploads fail?
An app-only Jetpack connection failure needs separate checks. Host-side XML-RPC blocking can interrupt Jetpack uploads, so ask hosting support to allow the required XML-RPC access without removing unrelated protections. Run the Jetpack Debug tool too. On Android, inspect the app’s photo permissions.
Why do uploaded images fail to display?
An existing image that won’t load may have a broken URL, missing generated size, file-access restriction, or stale cache. First separate a display problem from an upload failure. Repeatedly uploading replacements can fill storage without correcting the delivery issue.
Restore Uploads With a Targeted Fix
A small image file can still demand substantial processing resources. I recommend following the error message, testing one change at a time, and confirming success with the original failing task.
Keep reversible changes central to the process, especially on sites handling orders or bookings.
Read Acts 16:6–10 in the Amplified Bible, then reflect or pray for discernment and patience as you decide what to try next.
If you’d like help diagnosing upload failures or planning website support, Contact Us for a free website and SEO consultation.