

For WordPress site updates that aren’t appearing, and other changes not showing up for visitors, an old cached copy is the first thing I’d suspect. Start with a hard refresh (Ctrl + F5 on Windows or Linux), then work through your WordPress plugin, hosting, and CDN caches before changing your content again.
However, an unpublished page or an incorrect layout assignment can produce the same result. I recommend following the checks below in order so you can identify the cause without disrupting your business website.
Key Takeaways
- Test the public page in a fresh private window before changing website settings.
- Clear the cache layers your site uses, then reload the affected URL after each step.
- If purging doesn’t help, inspect publication status, the URL, the assigned page design, and the saved file.
1. Diagnose WordPress Changes Not Showing
HostPapa identifies caching as the most common reason WordPress updates don’t appear. Its other main category is using the wrong details, such as the destination, layout assignment, or uploaded file.
I compare the public page in my regular browser, a fresh private window, and a second device. This helps distinguish caching problems from an incorrect destination or unpublished edit.
If only one browser shows the old version, suspect its local cache or an extension. If logged-out visitors see old content while the editor looks correct, suspect a shared plugin, hosting, or CDN cache.
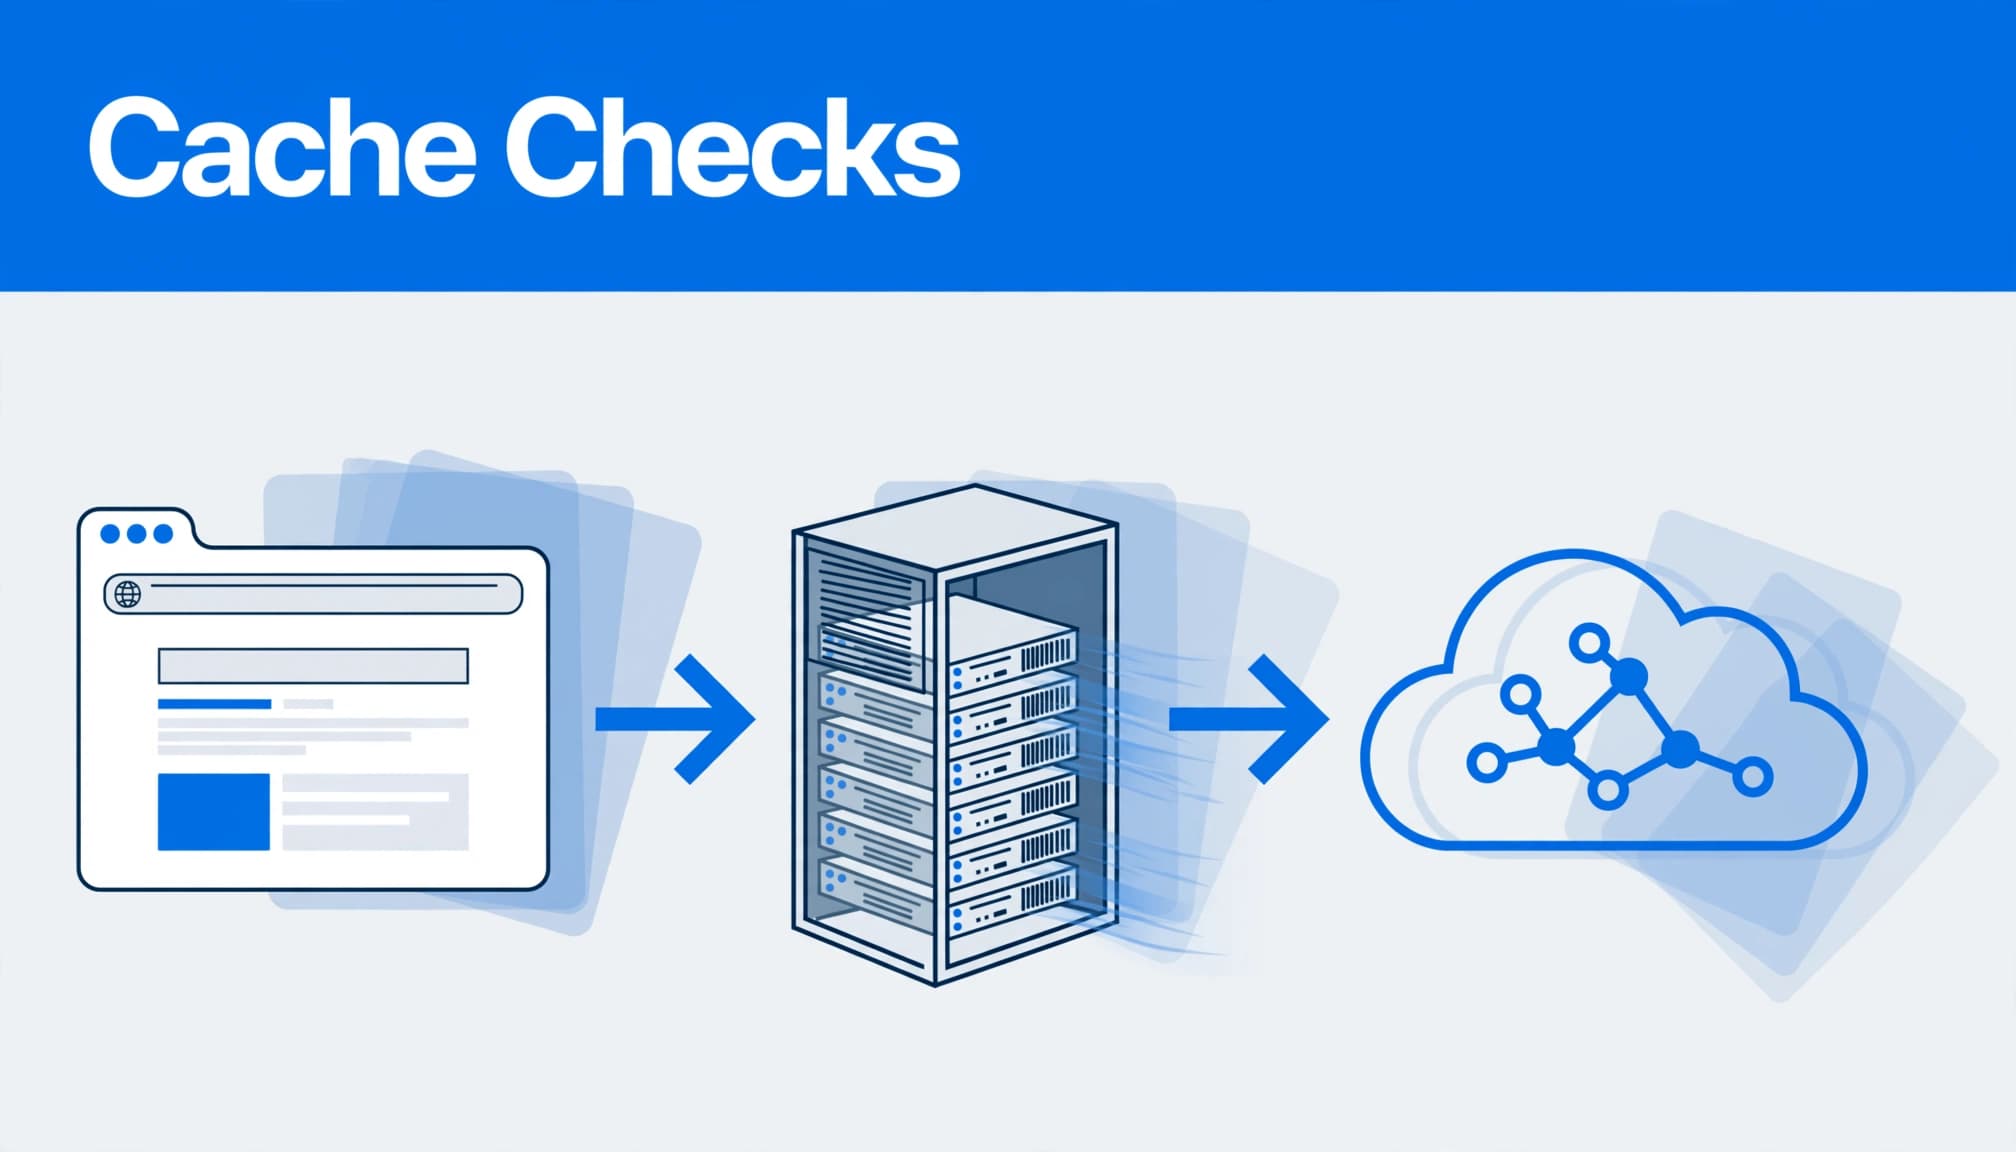
A fresh Incognito or Private session avoids your regular session’s cached files and cookies. However, it still receives whatever the server or CDN sends.
A correct logged-in preview doesn’t prove visitors see the update. Many caching systems bypass page caching for signed-in administrators.
2. Clear the Browser Cache First
Browsers normally detect changes and replace cached files, but the browser cache can sometimes retain older stylesheets, images, or scripts after an update.
Try a Hard Refresh
On Windows and Linux, press Ctrl + F5 or Ctrl + Shift + R. In Chrome or Firefox on Mac, use Command + Shift + R. Safari uses Option + Command + R to reload from the origin.
Next, open an Incognito window or another private window and load the full public address. If that version looks correct, clear the stored files in your regular session.
If only one installation still shows the wrong page, temporarily disable its extensions. An extension can alter page behavior even after you’ve emptied the cache.
Remove Stored Files and Site Cookies
In Chrome, open More > Delete browsing data. Older instructions use More > More tools > Clear browsing data. Select Cached images and files and, if needed, Cookies and other site data. Choose a time range, then click Delete data or Clear browsing data.
In Safari on Mac, select Safari > Clear History, choose a time period, then click Clear History. This removes browsing history too.
In Firefox, use Settings > Privacy & Security > Cookies and Site Data > Clear Data. Older Firefox versions used Options/Preferences > Advanced > Network > Cached Web Content > Clear Now, with site-cookie controls under Privacy.
I clear cached files first because deleting cookies can sign you out. If cookies appear responsible, remove data for the affected site rather than every website.
3. Purge Your WordPress Caching Plugin
WordPress caching plugins save reusable page output so the server doesn’t rebuild every page for every visitor. An outdated copy can remain visible after you save new content.
I use the plugin’s toolbar shortcut first. Otherwise, open its settings through the dashboard.
These are common cache-clearing paths:
| Plugin | Cache-clearing action |
|---|---|
| WP Rocket | Admin toolbar > WP Rocket > Clear cache |
| WP Super Cache | Settings > WP Super Cache > Delete Cache |
| W3 Total Cache | Performance > Dashboard > empty all caches |
| LiteSpeed Cache | LiteSpeed Cache > Toolbox > Purge > Purge All |
After purging, reopen the public page in a private window. Don’t install another caching plugin to troubleshoot one already running.
If you use WP Fastest Cache, its Delete Cache controls also offer removal of cached and minified CSS/JS files. That distinction matters when wording updates correctly but styling stays unchanged.
WordPress caching plugins should invalidate affected content when a post, page, or approved comment is published or updated. Automatic invalidation keeps pages fresh while cached delivery supports site performance. Theme or shared-design changes may still require a manual purge.
If updates repeatedly stay hidden, investigate automatic cache invalidation rather than accepting manual clearing as permanent maintenance.
4. Clear Hosting and CDN Caches
A plugin purge may leave a separate server-side copy untouched. Your host and CDN can each maintain their own cache.
Purge the Hosting Provider’s Page Cache
Use your hosting dashboard’s speed or page-cache controls. Common interfaces provide these routes:
| Hosting provider | Typical dashboard path |
|---|---|
| Bluehost | Websites > Manage > Performance > Clear Cache |
| SiteGround | Websites > Site Tools > Speed > Caching > Dynamic Cache > Flush Cache |
| Kinsta | MyKinsta > WordPress Sites > select site > Caching > Server Caching > Clear cache |
Labels vary between dashboard versions. Some hosts also provide a WordPress toolbar shortcut for their server cache.
After clearing it, reload the affected page privately. DNS changes affect domain routing, not cached page content, so leave DNS settings alone during this check.
Purge Cloudflare or Another CDN
For Cloudflare, select your website, then open Caching > Configuration > Purge Cache. Use Custom Purge for an affected page, or Purge Everything when a site-wide change requires it. Cloudflare’s cache-clearing discussion describes the full-purge option.
Other CDNs commonly label this action Purge, Invalidate, Clear Cache, or Purge All.
Prefer a targeted purge when possible. It protects site performance by avoiding unnecessary content rebuilds and temporary server work. Clear the plugin and host first so the CDN cache retrieves fresh content.
5. Check the URL, Publication Status, and Template
If every cache purge leaves the same old page, stop repeating them. Check the saved content and the destination you’re viewing.
Open the Published Page’s Exact URL
Open the item under Pages > All Pages or Posts > All Posts. Save the update, then use View Page or View Post.
The item needs Published status and Public visibility for ordinary visitors. Draft, Private, Scheduled, and Pending Review content won’t behave like a published public page.
Compare the complete address, including the domain, path, and any staging subdomain. A preview link or similarly named page may show a different version.
Editors and Administrators can manage other users’ pages; Subscribers can’t publish edits. Use the permissions the task requires instead of promoting someone to Administrator as a shortcut.
Match the Template and Uploaded File
With a block theme, inspect Appearance > Editor > Templates. With a page builder, inspect the builder’s display conditions. A header assigned to one section won’t update another section’s header.
For uploaded code or stylesheets, inspect the live server file through SFTP or File Manager. Check its saved contents, folder, and file names. Compare file names, including extensions, with the intended live file. Similarly named files in a parent theme, child theme, or staging installation can cause confusion.
6. Rebuild Builder Files and Investigate Conflicts
If text updates but spacing, colors, or layouts don’t, focus on generated CSS and optimization caches.
Regenerate Elementor’s CSS
In Elementor, open Elementor > Tools > General. Use Regenerate CSS & Data, or Clear Files & Data in versions that use that label, then save changes.
Next, purge the plugin, hosting, and CDN caches again. Finally, hard-refresh the public page.
The page’s HTML can also be stale, even when the CSS file has changed. A Cloudflare discussion about Elementor CSS highlights this distinction: cached HTML may still reference older assets.
I avoid repeatedly editing CSS until the page loads the intended generated files.
Test Conflicts Without Disrupting Customers
Before disabling plugins or switching themes, create a recoverable backup of files and the database. Our website backup guidance covers that preparation.
Then reproduce the issue on protected staging. Test suspected optimization plugins individually, especially CSS combination, minification, and delayed JavaScript features.
Persistent object caches, such as Redis, are another possible layer when dynamic data stays stale. Treat those separately from page caching.
Don’t restore an old database merely to fix stale output. A full restore can overwrite newer orders, bookings, and form submissions.
Frequently Asked Questions
Why Does the Page Look Correct in One Browser?
Each browser stores its own cached resources and cookies. Therefore, one can show fresh content while another retains old CSS or images. Try a hard refresh, followed by site-specific data removal.
If the difference remains, compare extensions and logged-in status.
Should Every Content Update Require a Manual Purge?
No. A properly configured cache should invalidate affected pages after publication or updates. Theme and template edits may need manual clearing because they affect multiple pages.
I investigate recurring failures as an invalidation problem. Our WordPress website maintenance plans provide ongoing support for updates and performance checks.
Does Clearing Cache Delete Website Content?
Normal cache purging removes generated copies, not your published pages, media library, or customer records. Browser-cookie removal can sign you out, however.
Database cleanup, file deletion, and backup restoration are different actions. They aren’t routine cache-clearing steps.
Get the Updated Page in Front of Visitors
I recommend starting with the browser, then checking plugin, hosting, and CDN caches in order. If the page stays unchanged, inspect the published address and source files before editing again.
Afterward, test the public visitor experience, including any affected form, booking, or checkout feature. A fresh-looking homepage alone doesn’t prove everything works.
If it fits your routine, read Acts 2:42 in the Amplified Bible (AMP), then take a moment to pray for patience and clarity as you work.
If stale updates keep interrupting your business, Contact Us for a free website consultation.