

A WordPress login redirect loop usually means your browser and website disagree about the login address, cookie, or HTTPS connection. I recommend testing a private browser window first, then identifying the repeating URL before changing files.
Your public website may still work while /wp-admin/ remains inaccessible. Before editing anything, back up your files and database, because a full database rollback could erase newer orders, bookings, or form submissions. Follow these steps in order, making one change at a time.
Key Takeaways
- Start with browser cookies, then compare the hostname and HTTPS settings across the redirect chain.
- Use SFTP or your hosting file manager when dashboard access is unavailable.
- Keep plugin and security changes brief, preserve original files, and reverse tests that don’t help.
1. Diagnose the WordPress Login Redirect Loop
Rule out browser cookies first
Open a private window and visit your normal login address. Unless a plugin changes it, WordPress uses wp-login.php for signing in.
If that works, clear cookies and cache for this site in your regular browser. Test another browser too. If Chrome works while Firefox fails, check for browser-specific cookies, extensions, or privacy settings.
Browser cleanup is often credited with fixing about a third of cases, but that isn’t a verified WordPress-wide success rate. I recommend trying it first because it’s quick and doesn’t alter your website.
Read the repeating addresses
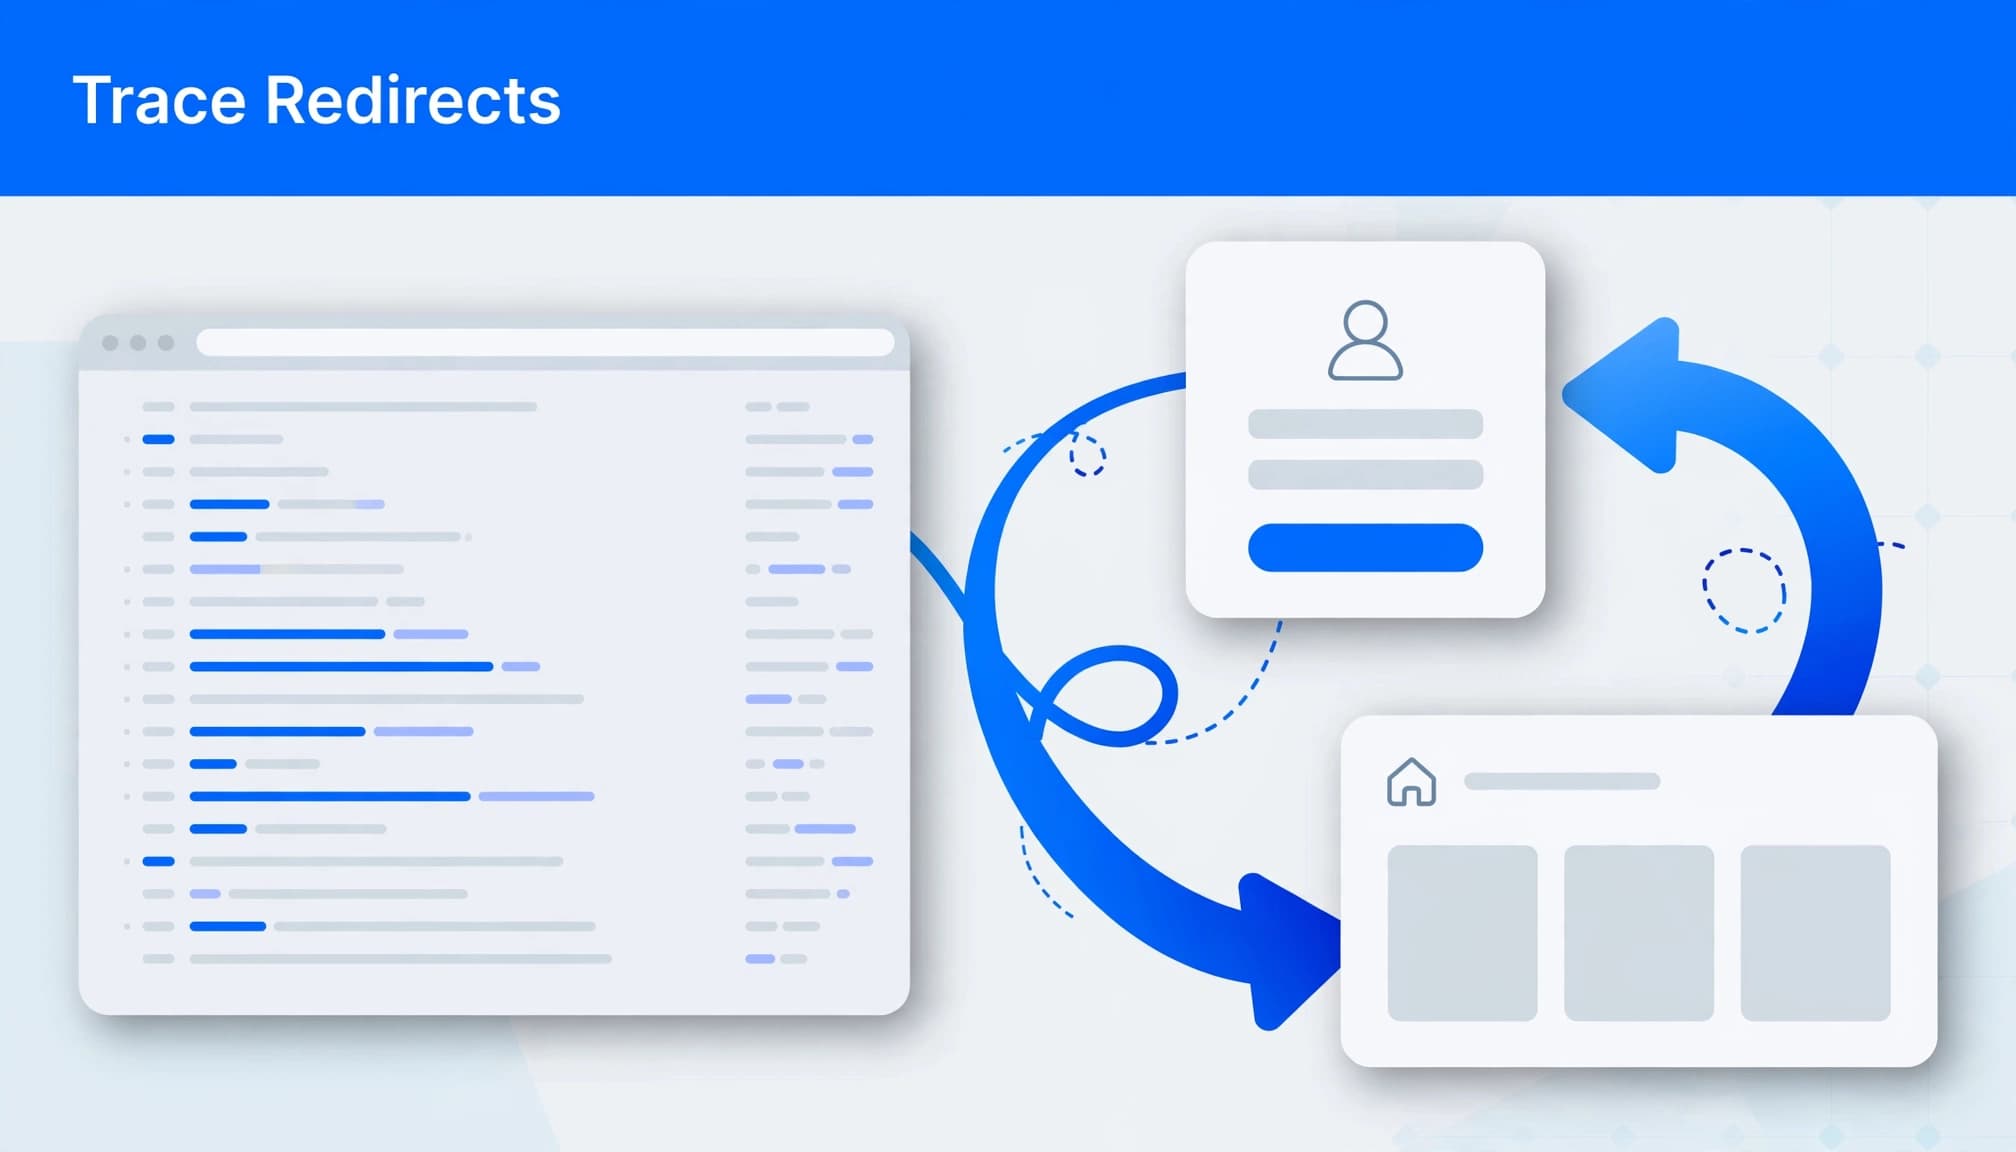
In Chrome, open Developer Tools, select Network, enable Preserve log, then reproduce the login failure. Inspect repeated HTTP 302 responses and their Location headers. A single redirect is normal; a repeating sequence isn’t.
If addresses alternate between www and non-www, investigate URL settings. Alternating HTTP and HTTPS suggests an SSL or proxy configuration issue. Returning to the same login address after submitting credentials suggests cookie or authentication interference.
My WordPress redirect chain troubleshooting guide explains how to record each hop. Don’t share raw network logs without removing cookies and tokens.
2. Align WordPress URLs Without Dashboard Access
Correct the hostname, scheme, and paths
The most common cause is disagreement between WordPress Address (URL), Site Address (URL), and the requested browser address. A cookie set for one hostname may not accompany a request to another, so WordPress treats you as logged out.
If accessible, review Settings > General. Otherwise, download wp-config.php from your WordPress installation directory and preserve a copy.
For a standard root installation, add these lines above the “That’s all, stop editing! Happy blogging.” comment:
define('WP_HOME', 'https://yourdomain.com');
define('WP_SITEURL', 'https://yourdomain.com');
Replace the example hostname with yours. Preserve any intentional subdirectory: WordPress installed in /wordpress can legitimately have a different Site Address. Edit existing definitions instead of adding duplicates.
These constants override database URL settings; they don’t permanently update those database values.
Repair stored values and cookie overrides
To edit the database directly, export it in phpMyAdmin first. Read DB_NAME and $table_prefix in wp-config.php, open the matching options table, then edit only the home and siteurl rows.
Use the intended HTTPS hostname and installation paths. Remove temporary constants only after the stored values are correct.
Also inspect custom cookie settings. If an established www/non-www cookie mismatch persists, define('COOKIE_DOMAIN', 'yourdomain.com'); above the stop-editing comment can help. Don’t add this routinely, include a scheme, or duplicate an existing definition. Incorrect cookie scope can create another login failure.
3. Isolate Plugins and the Active Theme
Disable ordinary plugins reversibly
Security plugins, a caching plugin, membership tools, or custom-login extensions can cause plugin conflicts. If the loop followed an update, start with that plugin.
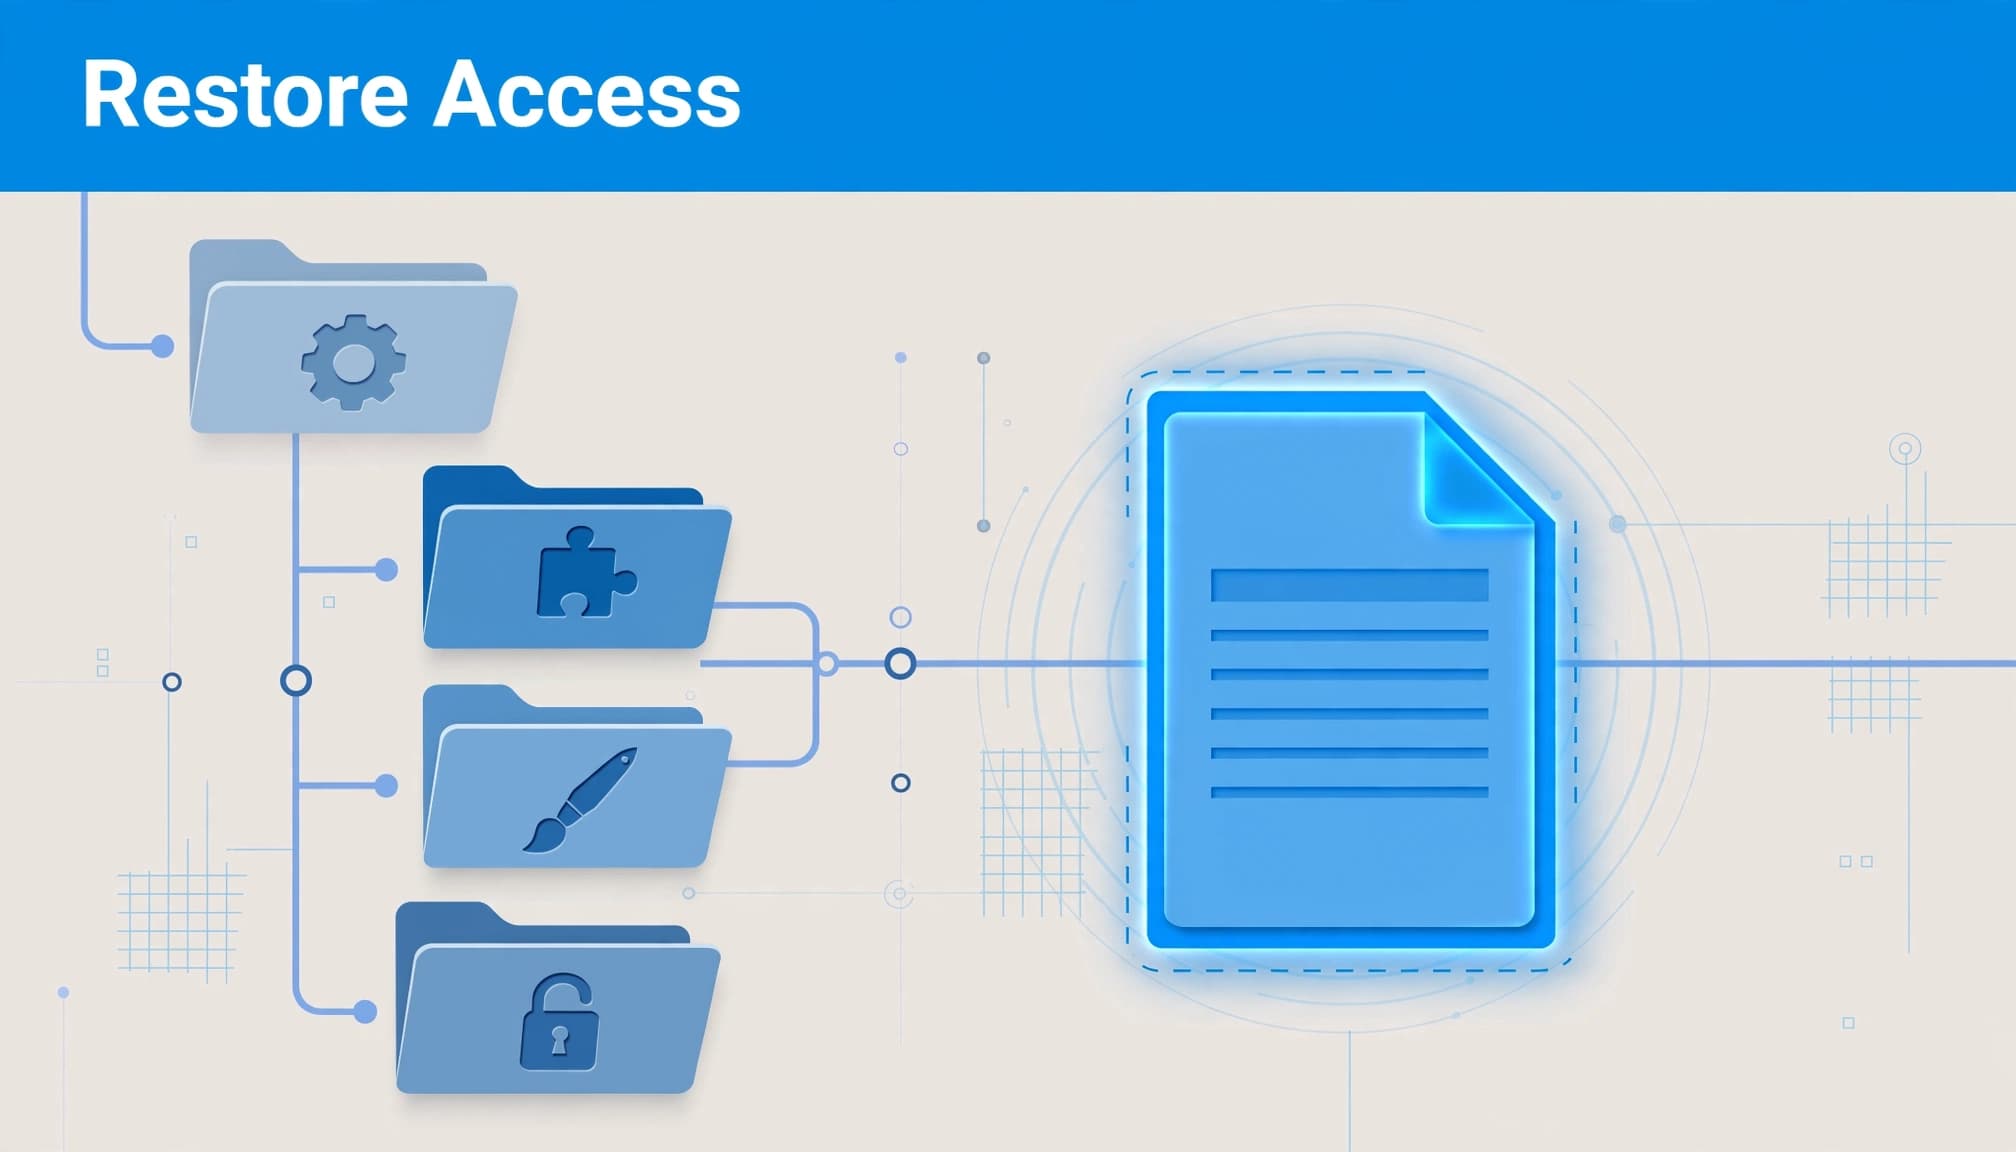
When wp-admin is unavailable, use SFTP or File Manager to troubleshoot. To disable plugins without dashboard access, rename /wp-content/plugins/ to plugins_old. Try signing in again. If access returns, visit Plugins while the folder remains renamed so WordPress registers the missing plugins as deactivated.
Then restore the folder name to plugins. Reactivate previously active plugins individually and test login after each activation.
Must-use plugins in /wp-content/mu-plugins/ and drop-ins such as advanced-cache.php remain outside this test. Don’t rename unfamiliar hosting components blindly.
Test an installed default theme
Theme conflicts can also arise from custom authentication or redirect code. First confirm that a default theme, such as Twenty Twenty-Five, is installed.
Next, rename the active theme’s folder inside /wp-content/themes/. WordPress can fall back to the installed default theme. If a child theme is active, identify its folder rather than renaming unrelated themes.
Test briefly because the public site’s appearance may change. Restore the original folder name if nothing improves. If the theme causes the failure, keep the working fallback active while its custom code receives attention.
4. Repair Cloudflare and HTTPS Configuration
Use Full (Strict), then isolate caching
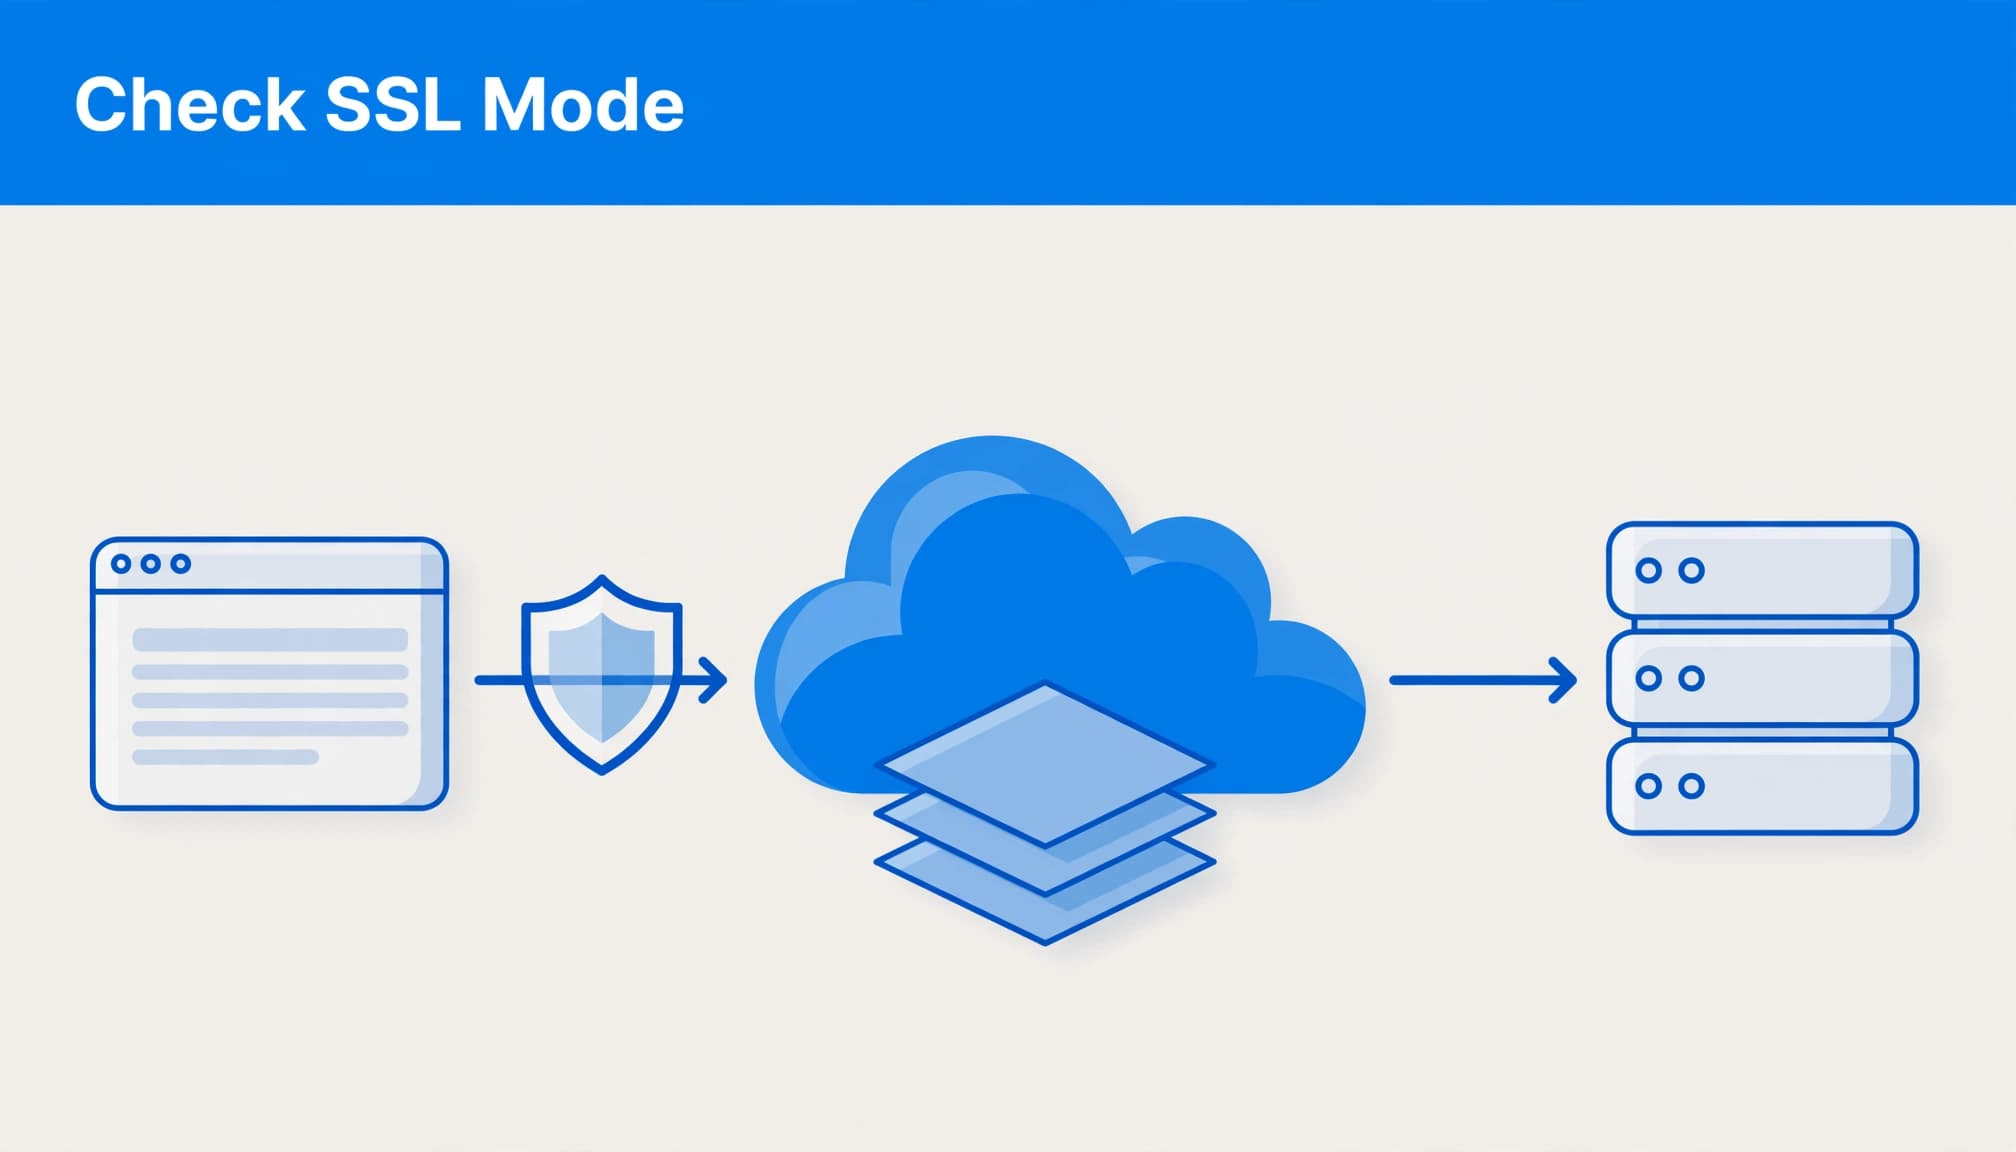
In Cloudflare, open SSL/TLS > Overview and check the SSL encryption mode: use Full (Strict) with a valid origin certificate.
Flexible mode connects Cloudflare to the origin over HTTP. If the origin redirects every HTTP request to HTTPS, that arrangement can create an endless loop.
For caching tests, enable Development Mode under Caching > Configuration. It bypasses caching for three hours, but doesn’t disable SSL settings or redirect rules.
Exclude /wp-admin/, /wp-login.php, and authenticated sessions from caching. Purge relevant WordPress, hosting, and CDN caches after repairs. Development Mode alone doesn’t correct a bad encryption mode.
Handle HTTPS migration exceptions carefully
Behind a reverse proxy, WordPress must recognize the original HTTPS request correctly. WordPress HTTPS guidance explains this requirement. Trust forwarded headers only from your configured proxy.
One reported migration case involving Rename wp-login.php cleared after adding define('FORCE_SSL_ADMIN', false); to wp-config.php.
I treat that as a narrow diagnostic exception, not a permanent fix. It doesn’t repair certificates or server redirects. Restore secure administration after correcting the migration or proxy configuration, and don’t submit credentials over HTTP.
5. Reset .htaccess on Apache Only
On Apache, conflicting rules in the WordPress root .htaccess file can send login requests in circles.
Download the file first, then rename it to .htaccess.old and retry login. Enable hidden-file visibility if you can’t see it.
If access returns, open Settings > Permalinks and click Save Changes without changing the permalink structure. WordPress can generate its default rewrite rules when the directory is writable. If it can’t write the file, it displays rules for manual installation.
Preserve the old copy because it may contain necessary redirects and protections. Restore custom rules carefully, testing each addition. If renaming doesn’t help, restore the original filename.
Removing
.htaccessalso removes its active security rules. Keep this test brief, and don’t delete restrictions merely because they contain “deny.”
Nginx doesn’t read .htaccess, and WP Engine doesn’t support it. Skip this procedure on those setups.
6. Inspect Configuration Order and File Permissions
Keep constants above WordPress startup
Review recent edits to wp-config.php. Authentication keys, salts, WP_DEBUG, and other define() statements belong above the stop-editing comment and before WordPress loads through wp-settings.php.
Definitions below startup may arrive too late, leaving login behavior or debugging unchanged. Moving a late definition above the comment fixes its placement, but doesn’t guarantee the value itself is correct.
The WordPress configuration reference describes these settings. Don’t publish keys, salts, passwords, or the complete configuration file when requesting help.
Apply permissions appropriate to the server
Use 755 for directories and 644 permissions for ordinary files. wp-config.php may use 440 or 600 if the required server account can read it.
A reported login-loop case involved 664 permissions on wp-login.php and admin files. That value alone doesn’t prove a fault, because ownership and server policy also matter.
For an authorized administrator whose server rejects those permissions, the reported correction was:
find . -type f -perm 664 -exec chmod 644 {} \;
Run it only inside the intended installation. It changes matching files recursively. Handle wp-config.php separately, and never apply file permissions indiscriminately to directories.
7. Retest the Business Website Before Closing Recovery
After fixing the WordPress login redirect loop, sign out and sign back in through a normal browser window. Then test password recovery and any affected customer workflows, including forms, checkout, or bookings.
Restore security protections and remove temporary troubleshooting settings. Also confirm that unrelated plugins remain in their original activation state.
Record the cause and the exact correction. For future login, security, or migration changes, I recommend a WordPress staging environment before production deployment.
Avoid restoring an old database merely because login fails. A targeted configuration repair protects newer business records.
Frequently Asked Questions
Why does login loop only on a local development site?
Local copies often retain production URLs, hard-coded cookie domains, or HTTPS requirements. Match WP_HOME, WP_SITEURL, the database values, and your local hostname.
If the local environment lacks HTTPS, a secure-cookie or forced-HTTPS setting can prevent login. Keep those adjustments confined to development; don’t weaken production security.
Will resetting the password fix a redirect loop?
Usually, no. A redirect loop after valid credentials points toward cookies, URLs, redirects, or authentication code.
Password recovery addresses forgotten or invalid credentials. If the browser reports too many redirects before displaying the login form, inspect the redirect chain and HTTPS configuration first.
Restore Access With the Smallest Effective Change
A successful repair corrects the setting responsible for the loop without sacrificing customer data or leaving security disabled. I recommend starting with browser state and URL consistency, then testing plugins, HTTPS, and server configuration only as the evidence requires.
Keep a record of the working configuration and remove temporary workarounds.
Acts 20:24 in the Amplified Bible speaks of finishing the work faithfully. Take a moment to pray for patience and wisdom as you care for the website responsibly.
If you’d prefer help planning the repair, Contact Us for a free consultation about your website.